


DIY temporary tattoos are an easy and handy way to spruce up your looks, explore your self-expression and creativity, and test designs you may want to get on your skin permanently.
What’s more, tattoos give you the chance to show what makes you unique to the world and yourself and to keep good memories close.
Of course, this is all very personal, as every one of us is different. Some may need to test 20 tats before braving up to the challenge of permanent ink. Others will simply want an extra something for that party look or occasion. Maybe it’s the theme of your kiddie’s next birthday party. You name it.
In any case, rest assured that custom temporary tattoos can help you achieve your vision. And, if you like getting crafty, you can go all DIY and make these yourself.
Read on as we share with you all the steps involved in making a DIY temporary tattoo!
What Are Temporary Tattoos?
If you're new to using temporary tattoos, all you need to know is that they come in several shapes and sizes, are very easy to apply, and just as easy to remove.
There are many types you can choose from but the most popular ones are water transfer temporary tattoos.
You can either buy a ready-made temporary tattoo, order a custom design, or DIY. Making your own DIY temporary tattoo is super fun and does not require any kind of expertise at all.
Why Choose a Temporary Tattoo?
More and more people are opting out of permanent tattoos, which used to be all the hype until recently, and are veering towards their temporary version — and for good reason too!
Easy To Apply
First of all, temporary tattoos are very easily applicable on the skin, and anyone can do it — we will touch on the steps behind this process later on in this article.
Easy To Remove
Secondly, removing them is no hassle at all. They come off almost just as quickly as it takes to apply them. Use baby oil or pick up a pack of our lemon-scented tattoo remover wipes. Once removed, these tats will leave no marks on the skin.
Extremely Versatile
Lastly, they come in a wide variety of shapes and sizes! You're definitely bound to find one that suits your unique taste. But if not, you can choose to create your own design. After all, the point is to DIY a temporary tattoo that tells your personal story, one that sets you apart from the crowd.
How Do You Make a Temporary Tattoo With Craft Paper?
As we’ve said before, the good news about DIY temporary tattoos is you can create your own design and transfer it onto the skin. Applying the tattoo onto the skin is a pretty straightforward process!
Here’s the entire process in a few easy steps:
1. Draw The Design
To begin, you can draw the design on a piece of paper using tracing or parchment paper.
A pencil should be a good enough choice for design tracing, after which you can switch to a gel pen to fill in the colors. Colored ink pens should also complete the task quite nicely. This part of the process can be incredibly fun, so let your creative juices flow!
2. Use Rubbing Alcohol
Next, gently apply rubbing alcohol on your skin where you’d like to tattoo the ink design. Do not apply rubbing alcohol on the temporary tattoo unless you want to remove it quickly.
3. Press The Design On The Skin
The last step is to press the paper design firmly on the moistened skin and leave it like that for half a minute without moving it. This will ensure the design will transfer correctly, and its effect will be long-lasting.
What Other Types Of Paper Are Good For a DIY Temporary Tattoo?
You can also make a DIY temporary tattoo with water slide paper. The process is pretty similar. Simply follow these tips, and you’ll be able to create a memorable temporary tattoo:
1. Get Water Slide Paper
This type of paper enables the design to better stick onto the skin. You can find it in art supplies stores. If you can’t get it, though, regular paper will also do the job fine.
2. Create Or Print Your Design
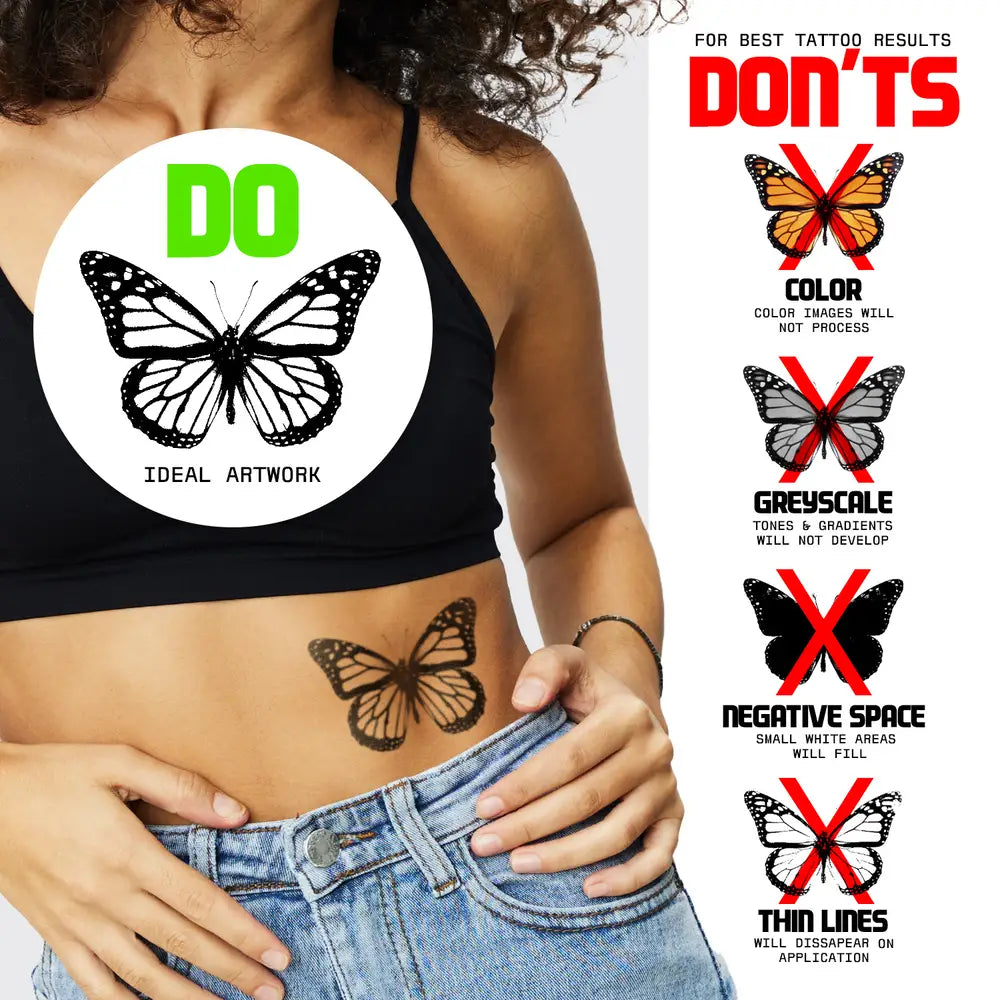
Continue by printing your design or drawing it on paper. If you want to print the design on your printer, remember that black always works better. Think of fun, exciting designs that thrill you. Need some inspiration? Browse our tattoo designs for ideas!
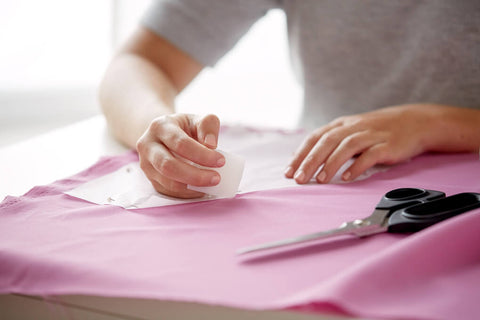
3. Cut Out The Design
When cutting out the design, remember to leave a ½ inch rim around the edges. It’s safer this way if you want your DIY temporary tattoo to come out right.
4. Soak It In Perfume
Now, this is where the process begins to differ as you’ll need to soak your design in perfume. Hairspray works fine too.
Apply a generous amount to both the back and front of your design.
5. Soak It In Hot Water
Fill a bowl with hot water and let your paper tattoo soak in it for around three minutes.
6. Take It Out And Spray It Again
After three minutes have passed, you can take the wet paper tattoo out of the bowl and spray it again.
7. Apply The Tattoo
The final step of the process requires you to simply press the tattoo firmly on the skin, and voila, you’ll have yourself a beautiful design to show off on your body.
Can You Use Eyeliner For Your DIY Temporary Tattoo?
Yes! When considering a DIY temporary tattoo, a thing that comes to mind is using liquid eyeliner. This will help you draw freely on the skin, as long as you let it dry and control the pressure on the skin. You can add some extra effects by using eye shadow.
Moreover, you can still create a transfer as described above and then finish it up with the eyeliner.
Once you are happy with your results, let it dry and apply translucent powder — you can use baby powder or make-up fixing powder.
The last step for extra durability is to use hairspray for an extra layer of protection.
Avoid using too much powder or hairspray as these can end up drying the skin too much and causing your design to crack sooner rather than later.
How Can You Make All This Even Easier?
The good part is that although DIY temporary tattoos can be fun, you can create your body art even faster and without needing to go through the steps we’ve described above.
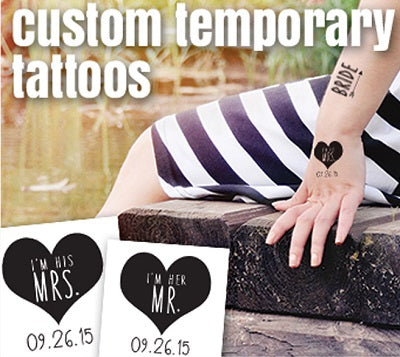
Wondering how? Simply order from TemporaryTattoos.com.
Choose from our huge range of motifs — we can also personalize these for you — or create your very own custom temporary tattoo with us.
Whether they’re Classic, Glitter, Metallic, or Glow-In-The-Dark, we can create temporary tattoos that enhance your personal vision and will thrill once delivered to your doorstep.
Don’t hesitate to reach out to us, and we’ll support you in sharing your own vibrant and unique story with the world.
For more inspiration on temporary tattoos you might also enjoy:
2 comments
Ariya
Can I use normal printer paper for the design ,I feel like normal lined paper will smear
Nikesh
which kind of printer is to be used for printing the design
Leave a comment
All comments are moderated before being published.
This site is protected by reCAPTCHA and the Google Privacy Policy and Terms of Service apply.